Magical Kumara Crackers
Research shows that kumara (sweet potato) is a valuable medicinal plant having anti-cancer, antidiabetic and anti-inflammatory activities. And unlike potatoes, kumara are not part of the nightshade family so can be enjoyed even if you have an autoimmune condition or osteoarthritis.
There are also a host of other nutritional benefits due to the phytochemicals found in the skin and the vitamin C, potassium, calcium and beta carotene in the fleshy part. The best way to obtain all the nutritional benefits is to scrub them well and leave the skin on when cooking, if possible.
Of the three commercially available varieties in NZ, the rich orange fleshed kumara is considered the best for those concerned with diabetes or weight problems as it raises blood sugar more slowly than the other varieties.
Please note, as kumara is a carbohydrate, you still need to limit your quantity, especially at night if you are wanting to avoid weight gain.
After researching ideas to enhance an anti-inflammatory diet I created these yummy crackers to make life a little more delicious!
These simple Kumara & Almond Crackers are perfect because the almonds and flax seeds also provide valuable protein and essential fats known to support blood glucose control and reduce inflammation.
Kumara & Almond Crackers
Ingredients
1½ C ground almonds (almond meal)
⅛ C whole flax seed (linseed)
1 C pureed orange kumara (skin on)
¾ C water
3 Tbsp coconut oil (melted)
½ tsp raw unprocessed salt
½ tsp baking powder
Method
Scrub kumara and remove each end any eyes or blemishes.
Boil kumara until soft, drain and set aside to cool, reserving ¾ cup of the cooking water.
Using a stick blender or food processor puree the kumara adding the reserved cooking liquid.
Combine the pureed kumara with the remaining ingredients, stir well, cover and leave to thicken for 3 hours.
Preheat the oven to fan bake 130°C.
Line a large baking tray with baking paper.
Spread the mixture evenly over the baking paper and bake in the centre of the oven for about one hour (until the surface is dry to touch and the mixture is beginning to firm up). Remove the tray from the oven and cut into large crackers (I cut mine into 18 pieces).
Return the tray to the oven and bake for a further 30 minutes before flipping the sheet of crackers over and removing the baking paper.
Continue baking for about another 60 minutes or more, separating the crackers and rearranging them occasionally to ensure even cooking. The baking time will depend on how thick your crackers are and how hot your oven is.
As the colour of the crackers deepens and they start to become crisp, remove them from the oven and place on a wire rack to cool (you will probably need to do this in batches as those on the outer edges may cook more quickly). The crackers will continue to firm up as they cool down. If any appear soft after cooling, return them to the oven for further cooking.
Store in an airtight container.
TIP: If the crackers are not quite cooked but you want to go to bed or leave the house, turn the oven off and leave them to finish baking as the oven slowly cools.
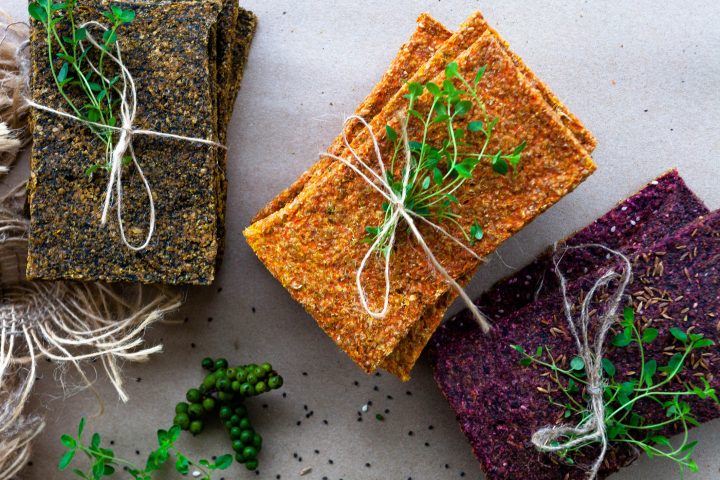
NB: This is not my pic – but the crackers in the middle look a lot like mine! I will post an actual photo of my crackers as soon as I’ve made another batch. We ate the first one, sorry!